Photobucket Photobucket Photobucket Photobucket Photobucket Photobucket Photobucket
SPACER
Showing posts with label paper craft. Show all posts

Friday, August 27, 2010

Cute Photo Block tutorial...

1. Buy a block...(in Utah Woodworks sells a little kit with the block, bulldog clip and plastic slide thingy) Otherwise it is about 3.5 x 3.5 square block. Sanded, and edges are rounded a bit.

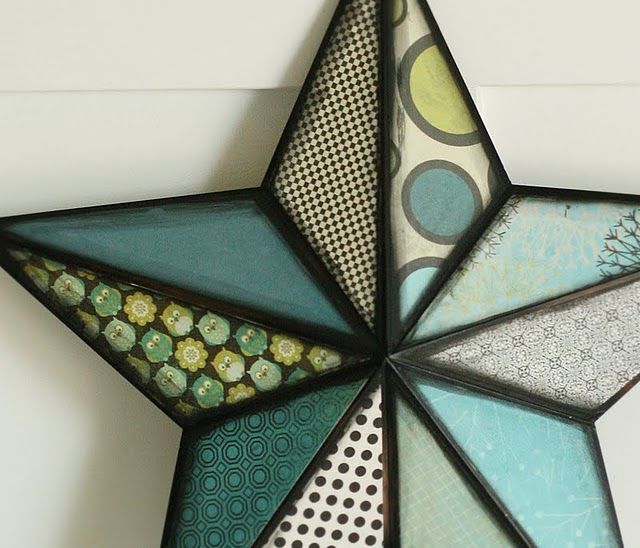
I just did a wash in black along the edges since they will be showing.

2. All the supplies you need are here.


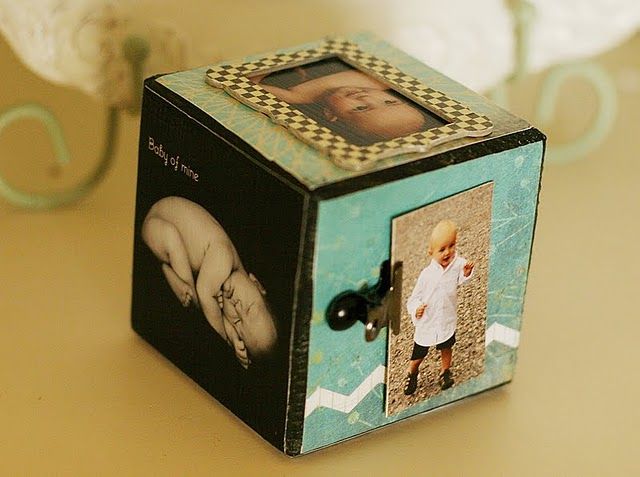
3. Photos I ordered from Costco in smallish sizes. Cute scrapbook papers and a few embellishments. (roberts)

4. Invite Jeff Lewis along. (flipping out, bravo, funny!)


5. Cut papers just smaller than the square, about 3 and a quarter. Mod Podge down, add pics and mod podge on top of those too...


6. When it is all dry, glue on brads, ribbons, flowers etc. Mine is for my baby boy Weston. So no girly stuff.


7) Chipboard accents like the "W" are fun. Just mod podge cute papers on, and cut out with exacto knife. I did this to the checkers chipboard frame too...
Finished. Cute in a stack of three if I ever get to the other two.


I mounted the photo on chipboard for the bulldog clip. This is also fun to switch out the photo.

Finished! Hope you like.

Monday, April 5, 2010

A Grown-up Idea

Do you have a hard time finding a gift to make for grown-up people?  Because I do.  (And no, this isn't an infomercial).  When my friend celebrated her birthday a few weeks ago (Happy Birthday Gen!) I went scouring through blogs trying to find something I could make, and I came along these.

They were super easy to make and I love how they turned out!
Instead of using napkins, I made some cute designs in photoshop and printed them on to cardstock.
They were simple and inexpensive...the only thing that took time was the drying.  Her tutorial is great, so make sure to read hers if you're going to make them.  The basic idea is you mod podge paper to the front of the tiles and also over the top of the paper to seal it. Then hot glue corkboard to the bottoms.  And to finish, you spray with an acrylic sealer.
And yes, you can buy most of this (except tiles) at Walmart.  The finishing spray was with the craft things and the corkboard was in stationary!

Voila!  I am so happy to have a grown-up gift idea to add to the list. Linked at Today's Creative blog, Reinvented, Craft Edition, Silly Little Sparrow and soft place to land!

Thursday, March 4, 2010

Mini Makeover Part 1 & . . .

We are moving in a few months, but I can't stand that my baby's room is an office with a crib in it. So I am doing a mini-makeover, complete with a little wall art, a mod podge shelf and re-doing an old clock.

I think I got this clock from my mom. Sorry momma, hope it wasn't a treasure of some sort.

It's oak around the outside with a gold rim. I know, it screams baby.

PS I know babies can't tell time, but I actually use this a lot, it's the perfect line of sight in my hallway.
And... 
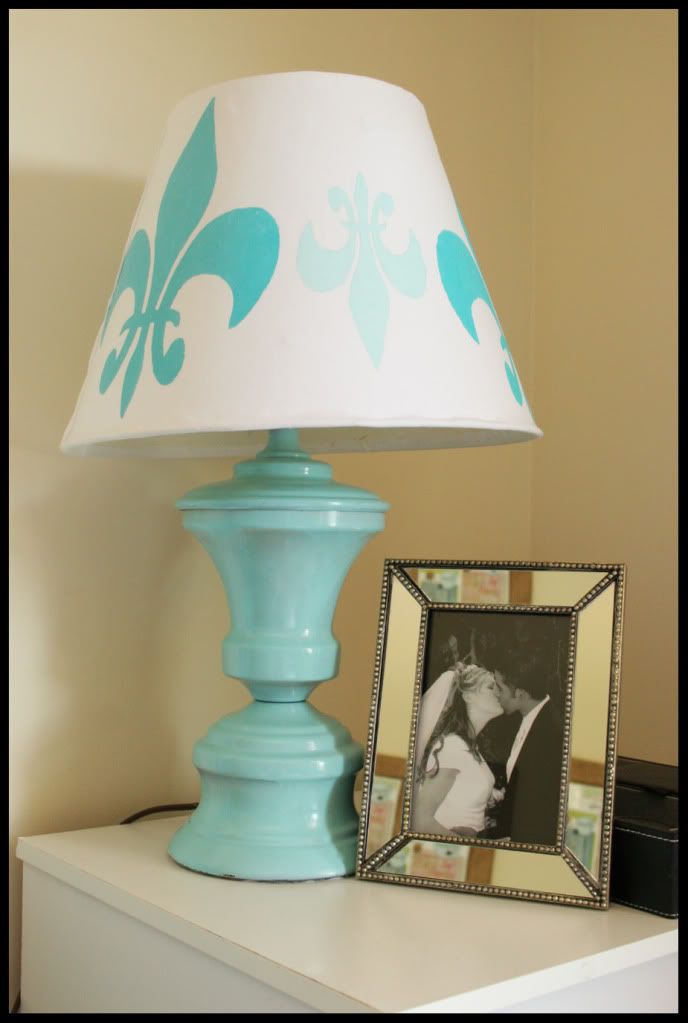
I actually kinda love it. I took it all apart and painted the outside and the rim. Then I mod podged a simple car in the middle, which is going to match my artwork.

Part two coming in a few days!


ALSO THERE'S A GIVEAWAY!!!

There's a great site that is hosting a giveaway of our patterns. All you have to do it go the the Quilt Qua site and leave a comment on which TWO of our patterns you'd like to win!

If you're a beginner, I'd suggest Sweet Tweet and Crazy Daisy.
If you've had a little more practice check out Serenity Now, Tutu Pretty and Snakes, Snail & Wiener Dog Tails.

So please go sign up to win some of our patterns! We'd love to get lots of comments, and who knows maybe we'll have another pattern giveaway soon *wink, wink*

Wednesday, November 4, 2009

Monogrammed frame project...

Another project completed and even hanging on the wall!!! Can you believe that?
I have 4 of these white beautiful frames. They were for my kids individual pics. But now I have 5 kids, and only 4 frames, so I need to rearrange, and buy 5 new frames for my kids. So here is a project with one of the 4 frames I get to play with. I found this pretty letter "A" at hobby lobby for around $4...actually $2 since everything on the store is always 50% off. (why they can't just mark all the prices down 50% all the time, I will never know, but that is another post....)


I got some white spray paint, actually it is called heritage white (I think) and sprayed. You have no idea how much spray paint this little bugger took...it probably increased the price of my letter back up $3. I probably sprayed 8 coats. Next time primer right?


Then I got me some gorilla glue because girls at this site shanty2chic are having a little gorilla glue party. I used gorilla glue "wood glue." And you know how I love me a party...and a new product. So I joined in.


I just did the mod podge strait onto the 5x7 glass. I did a cute damask brown paper. Mod podged the top of the paper and let it dry. The did the gorilla glue to the letter and smacked that baby down....and here you have the final product!!!

See...hanging on the wall! Do you love it? Don't tell me if you hate it, it may hurt my feelings for a day. I love the 3D letter.
And I am super proud, because this project I invented from my head and didn't even steal anyone else's idea (like I have been known to do.)
Hope you enjoyed, now go get your craft on. We would love more followers, and we read each and every comment you guys leave us. Thanks for all the support and love! We love you too!

PS we will be linking this to the shabby chic cottage too! Cute site! Also, decormamma's frugal friday and between naps on the porch Metamorphosis monday and Serenity Now.

Monday, November 2, 2009

Project finished!!!!!!!!!!

Alright, Megan and I should probably have a blog dedicated to Mod Podge. We true love us some Mod Podge. So fun and fast and cute!
Okay, I will show a tutorial with photos when I work on my Christmas one. I am having a hard time remembering to pull the camera out during the process. So you just get the finished product this time.

All this is is some 2x4's in various sizes. Fab scrapbook papers cut to size. Then vinyl letters . (we heart those too!). Mod Podge papers on, add vinyl letters, Mod Podge on top of papers and lettering. Then when it dries, shade the edges to really make it pop. I don't mean "ink" or "sponge" (although that would work too). You need to shade with one of those angled brushes and some acrylic paint. It really makes a HUGE difference.


So now I have my cute complete hand crafted by me project finished in time for thanksgiving. (Jealous meg?) Meg and I are long lost sisters, so we pretty much craft together on our bluetooth and then send photos, or mostly we reveal our craft to each other on the blog. (which is why we are so complimentary on our comments to each other.) most of the time it is the first time we have seen each others projects. I can't wait till we are next door neighbors...(our husbands know we will make it happen!)