


It's that time of year we come to blog on Fresh Poppy Design again! :) Our intentions are good but with all we do on Quilt Story we find little extra time to work on our home design and decor, let alone post about it!! Hopefully you can bare with us and enjoy our posts from time to time :)
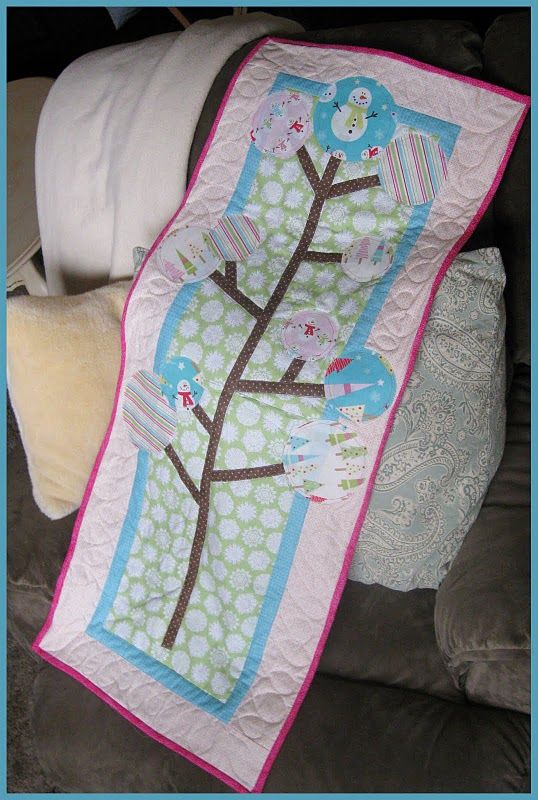
When I saw Moda's new line from Kate Spain, Joy, I was so excited!! I was feeling Christmas in May that's for sure! The colors are fabulous and still Christmas, I love how she works the aqua in. I can rarely turn down a blue/green combo anyway :) When I got the collection a pattern started flowing into my head immediately!

A simple strip quilt paired with modern trees. I really am loving the finish!

Check out those zig zag's and snowflake prints...and the green tree print...fabulous. A great mix of modern and tradition, a lot like what I tried to incorporate in the pattern.

Christmas Forest is one of our latest pattern finishes that can be found in our shop.

Here are all of the patterns we've released so far this year, also available in our shop.

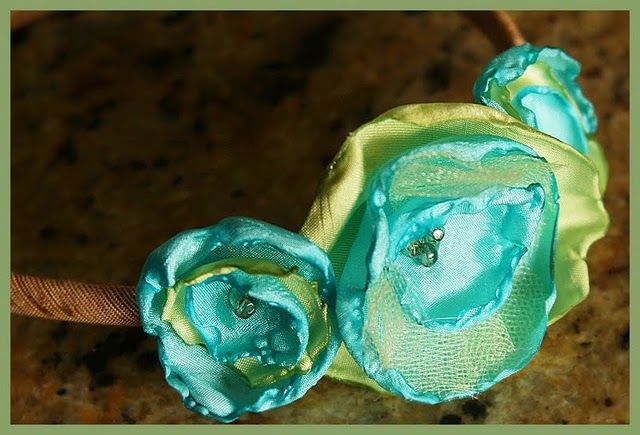
And I've got another quilt to share in this festival! :) Head over to Quilt Story to see a little more about Kenna's Blooms.

Thanks to Amy for the fabulous event she puts together twice a year!! Head on over, link up your own quilt and check out some amazing finishes! Thanks for stopping by!! :)

-Heather