Do you all know the fabulous Abby of Sew Much Ado? Well...you should :) Last week she had a Copycat Challenge where readers submitted their copycat work in three categories, accessories, home decor and clothing. Right now they are voting on the finalists, so you can check out the best and vote for yourself.
Abby asked Heather and I if we would be guest bloggers during this challenge. Um...YES! I set out to make a home decor copycat, and here's what I came up with!
First, the inspiration:
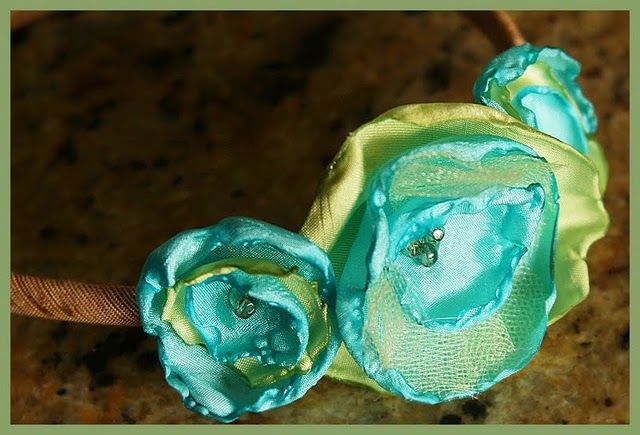
these darling headbands from Pottery Barn Kids
...and although I thought for 12 seconds of making these for my boys, I decided on something that would get a little more use...
My interpretation:
I just am loving embroidery hoop art lately
Want to know how to make this also?
Okay.
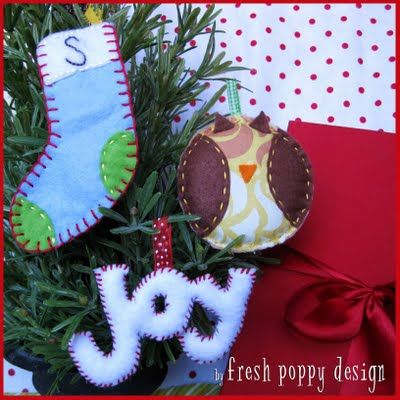
The tutorial is just below, but I wanted to introduce you to Little Christmas House.
Embroidery Hoop Turkey Art Tutorial
Materials:
- 9 inch embroidery hoop
- Muslin (enough for a 11" circle)
- Fusible web (like Heat n Bond)
- 10 or so felt varieties
- matching embroidery floss
- needle
Step 1: Using the embroidery hoop as your guide, cut about an 11' circle from your muslin.
*Note: works best with a Dora pencil
*Note: works best with a Dora pencil
Step 2: Using this pattern, trace each piece individually onto the paper side of the fusible web. (For the feathers make sure to go a little longer "into" the turkey body). Cut roughly around each piece, lay the shiny side paper onto the back of each felt piece and iron. TAKE YOUR TIME. Start out with a low heat and have another fabric in between the iron and the felt. Some felt could burn and be altered through ironing. **Be wise and refer to the directions on your fusible web packaging**
Step 3: Peel the paper off of the felt. This should leave a nice shine on the back of the felt. Using the same method for ironing felt as in step 2, place all of your pieces onto your circle of muslin, and iron into place.
Step 4: You're ready to stitch. But first we need to separate your embroidery floss. Embroidery floss has 6 strands of thread in each piece. I used only 3 strands for stitching everything except I only used 2 strands to stitch the words.
Step 5: Stitch! I used a back stitch for everything.
Step 6: I used a little trick for the words. I tried to use a pencil to trace the words onto the felt but it would not work. What I ended up doing was traced the words onto wax paper, pinned it into place on the banner and stitched through the wax paper onto the felt/muslin. It worked fabulously.
Step 7: Pull the muslin on all sides to tighten the fabric. Once in place, trim sides to about 1".
Step 8: Hot glue the edge to the inside of the hoop.
TA-DA!
Thanks for stopping by!
Happy Thanksgiving!















13 comments:
Спасибо!Очень интересно было и ново для меня!!!!
Freak Gagen, these are awesome! The photos are way cuter than the text photos. I really want to make some! LOVE LOVE LOVE. you did a great job!
Cute. I think I'd like to do one for each of the grandkids and let them add something they are thankful for on one of the feathers. They'd look forward to it each year, reading previous thanksgivings and recording a new one.
So cute! I don't have time to make one, but I am going to make time...we'll see how that goes! Thanks for such a cute tutorial : )
Very cute! Thanks for the tutorial too!!!
CUTE!!
Why did you move away from me?!
Very cute!
Very cute!
You my friend are amazing!! You are so blasted talented!
nadine
amazing! It's just this kind of "art" that got me into quilting in the 1st place 30 years ago! I guess it's true that all things just cycle in and out. Yep, that 1st hoop was about 18"diameter, was a pre-printed scene of a duck on the pond with cattails, and I put the print, a piece of batting and the backing in the hoop- the same way you did. Then do the quilting either quick stitch or regular tight hand quilting. Glue the back edges just like you did- and voila! I think mine had a piece of ruffle also glued around the circle to finish. Good job, young ladies!
That's so cute!! I love the Christmas hoop, too. I linked to your tutorial over at Craft Gossip Sewing:
http://sewing.craftgossip.com/tutorial-give-thanks-embroidery-hoop-art/2010/11/21/
--Anne
Totally adore the little house! So cute!
amazing work
digitizing companies
visit : https://crystaldigitizing.com/
great job ^%^^%&^&*(^*(^)
Post a Comment