


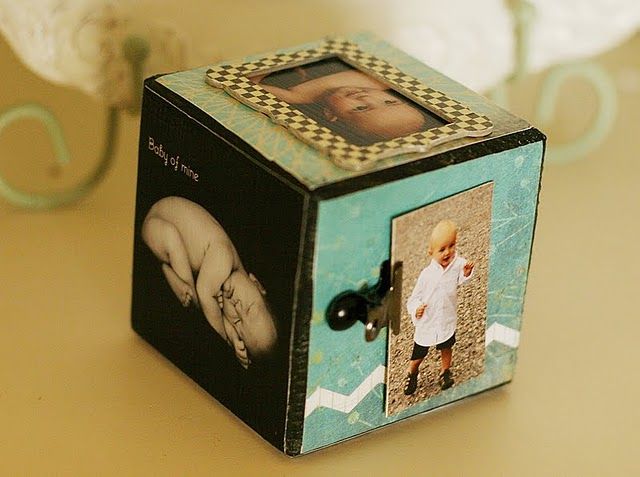
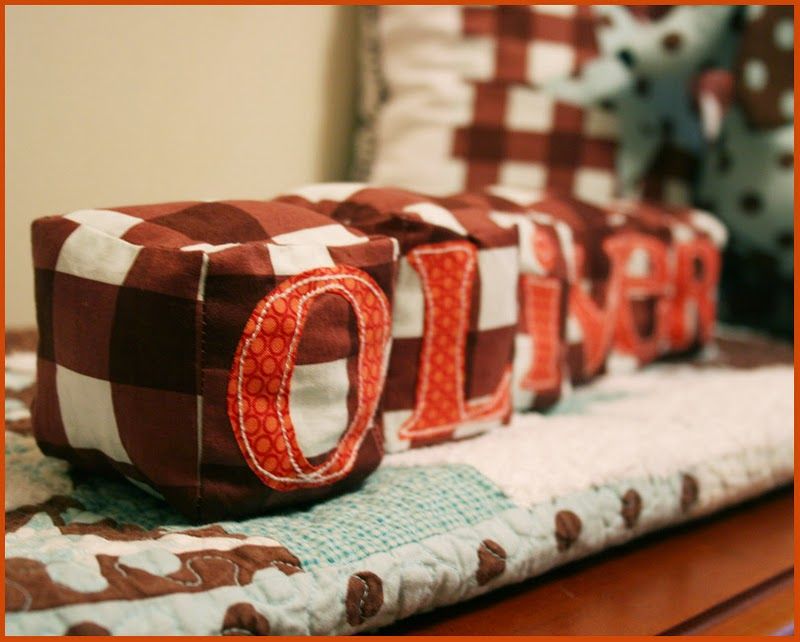
Part two of mini makeover: I've seen these cute little blockies around and just had to make some for my Oliver.
I've seen these cute little blockies around and just had to make some for my Oliver.Wanna make some to?
Here's how to make adorable lettered fabric blocks for your baby.
You'll need:
- Six 3.5" squares of fabric per letter (36 for me)
- Heat n Bond
- Scrap fabric for letters
- Letters traced or printed from your computer
- Batting
 1- Trace your letter onto Heat n Bond and cut out roughly around the letter (remember to do the letter in reverse).
 2- Cut out six 3.5" squares for each block you want to make.
3-Following the directions on the Heat n Bond packaging, iron each letter onto one square.
4- Sew around each letter.
 5- Sew 4 squares sides to sides together.
6- Pinning the top and bottom squares to the ends of the "coming together" block, make sure to match the corners and then sew around. This can be tricky, it kind of takes trial and error to learn how far to go to on the corners.
7- Leave a small opening to turn your block right side out with, and then stuff it with batting. Hand sew the hole closed.
If you wanted a crisper more square look to your blocks, I bet if you added some interfacing to each square it would give you that effect. I wanted a softer more playable look for these.

There you go! Now you have some cutie-patootie soft blocks for your baby.
How lucky am I that OLIVER is six letters? As always, let us know if you have any questions!
Partying with AmyLouWho and My Romantic Home.


23 comments:
Let me just say THANK YOU! I am making these this weekend. I'm going to spell "BRIGGS" in blocks for my little one due in July!
Meg these are super darling! Love them. I want to make some for my little baby dude! Super cute and love the big stitching around the letters, really stands out!
Super Duper cute!
Oh...so cute! Love your color combo you used.
Very cute, love the brown and orange together! I just wanna squish them :o)
Great idea.
Cute!!! Great idea!
Love them!!
How adorable!
Cute cute Ollie! What a lucky baby boy!
Great idea! Thanks for the fun tute!
Blessings,
KT
These are too neat! Great tutorial ... thanks for sharing!
I love these blocks! A great idea for baby gifts!! Thanks for sharing. Enjoyed having you visit my blog. I love your child's name, Addison. Adelaide is not a family name.. just a name that we loved. And Adelaide has always loved her name too. It suits her!! Love & blessings from NC!
these are so cute and look adorable.
It's my nieces birthday in a couple of weeks and I'm so making these for her! The are just so perfect and Thank YOu!
Oh my goodness... those are adorable!
~Jennifer
Great idea! Thanks for the "tute"!
great tutorial, meg!
hmmm maybe i should make some for simon!
it's a great idea to spell out baby's name on them. fun new twist to the stuffed block. you're genious!
wow, I misspelled GENIUS!
i'm so smart.
How adorable! You are so talented!!!!!
Sooo darling! Thanks for sharing this. Monica
very cute! SO many things I want to make for baby....
Hi! I've tried your project and shared it on my blog, with linking back to your page of course ;)
http://craftanddecorate.blogspot.com/2012/08/yumusak-isim-kupleri-baby-blocks.html
Post a Comment